How Long to Bake Chicken Breast at 350°F
Editorial desk · 9 min read · Updated 2026-08-22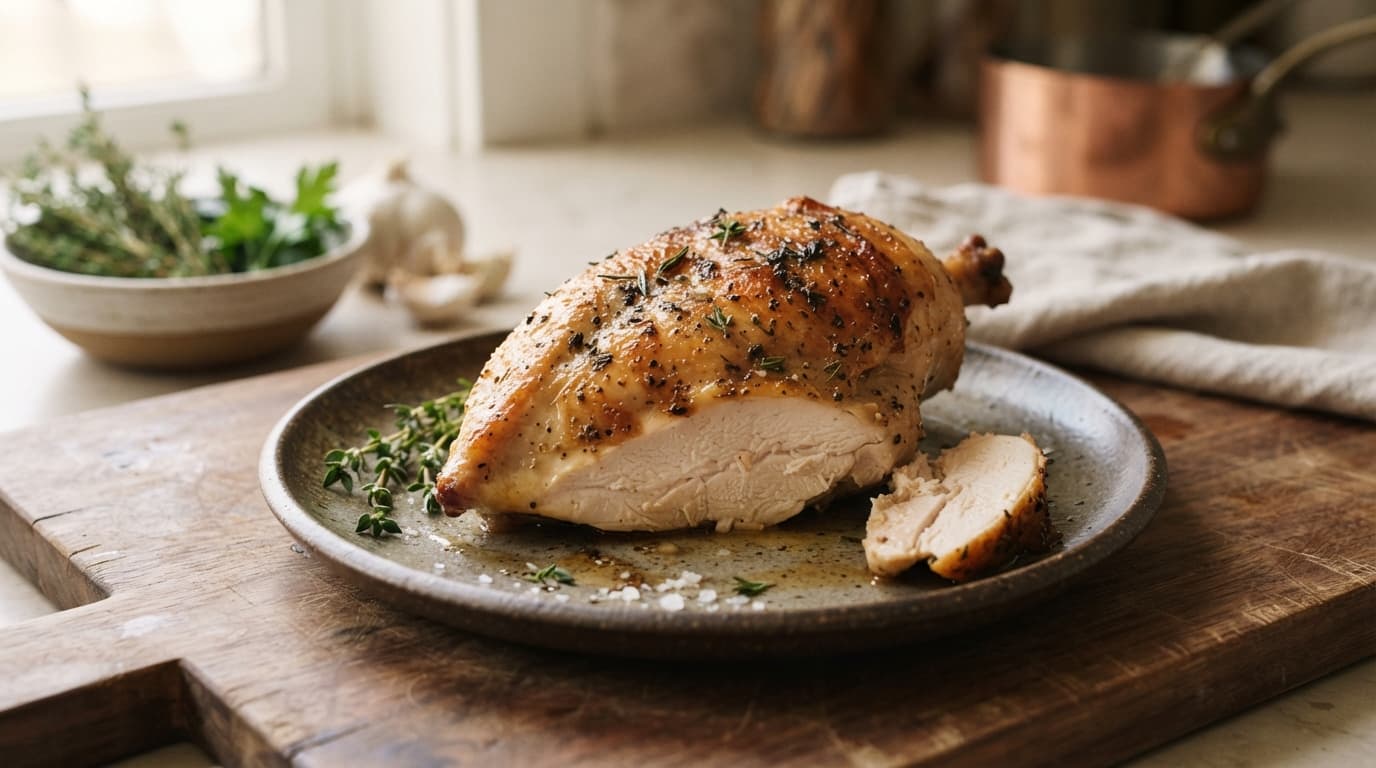
A 4-ounce boneless, skinless chicken breast takes about 30 to 40 minutes to bake at 350°F, according to FoodSafety.gov's official poultry roasting chart. A bone-in breast half weighing 6 to 8 ounces takes considerably longer, roughly 1¼ to 1½ hours, since it's both larger and slowed by the bone conducting heat differently than muscle. Either way, the timing chart is a planning estimate, not a substitute for checking that the chicken has actually reached 165°F with a food thermometer.
That distinction matters more than the exact minute count. Oven timing charts assume roughly average conditions, a specific weight, a properly calibrated oven, no major variation in how the meat was prepped, and real kitchens don't always match those assumptions exactly. The chart gets you close; the thermometer confirms you're actually done.
The official timing, boneless versus bone-in
FoodSafety.gov's roasting chart lists two relevant reference points at 350°F. A boneless, skinless chicken breast half around 4 ounces takes 30 to 40 minutes. A bone-in chicken breast half in the 6-to-8-ounce range takes 1¼ to 1½ hours, nearly triple the time despite being roughly double the weight.
That gap is bigger than weight alone would explain, and it comes down to two compounding factors. Bone-in pieces are simply larger overall once you account for the rib section and skin, which adds mass beyond just the breast meat itself. On top of that, bone doesn't conduct heat the way muscle tissue does, which slows how quickly the center of a bone-in piece actually catches up to the surrounding oven temperature. A boneless breast has neither of those factors working against it, which is why the timing difference is so pronounced.
Skin, when present, adds a smaller third factor. A layer of skin insulates the meat underneath slightly, which can add a few more minutes on top of what the bone and added mass already account for. This is worth knowing if you're comparing a skin-on, bone-in breast against a skinless, bone-in one of similar size; the skin-on version generally needs a touch more time to fully cook through, even though both fall under the same general bone-in category on a timing chart.
Why your specific chicken breast might not match the chart
These figures are built around specific weights, 4 ounces for boneless, 6 to 8 ounces for bone-in, and real chicken breasts vary a fair amount around those numbers. A thick, 8-ounce boneless breast from a larger bird takes meaningfully longer than a thin, 3-ounce piece, even though both fall under the same "boneless chicken breast" label on a timing chart. If you're working with breasts on the larger end, lean toward the higher end of the range and check earlier rather than assuming the lower bound applies.
It's also worth knowing that a package labeled "chicken breast" sometimes actually contains the tenderloin, a separate, smaller muscle attached to the underside of the breast rather than a smaller cut of the breast itself. A tenderloin cooks noticeably faster than a full breast at the same oven temperature, so mixing the two on one tray without accounting for that difference risks pulling the whole batch based on the larger piece's timing while the tenderloins have already overcooked.
Oven calibration is the other major variable. Home ovens can run meaningfully hotter or cooler than their displayed setting, sometimes by 25°F or more, which shifts real cooking time away from any chart's estimate in either direction. If you've never checked your oven against an independent oven thermometer, a timing chart is a reasonable starting point, but it's worth treating the estimate as a range to check within, not an exact countdown to pull the chicken the moment the timer goes off.
Starting temperature is a smaller but real factor too. A chicken breast taken directly from the refrigerator right before baking starts from a colder point than one left out briefly to lose some of its chill first, which can add a few minutes to the total time needed. This isn't a reason to leave raw chicken out at room temperature for any meaningful length of time, since that runs into the same two-hour food-safety limit that applies to any raw poultry; it's simply a reminder that a chart's estimate assumes reasonably typical starting conditions, and a colder-than-usual piece of chicken may need a few extra minutes beyond the stated range.
The thermometer check that actually matters
Regardless of what the timer says, the only way to know a chicken breast is actually safe is a food thermometer reading 165°F in the thickest part of the meat, the USDA's minimum for all poultry. Insert the thermometer horizontally into the center of the breast, aiming for the middle of the thickest section rather than the tapered end, which cooks faster and can give a misleadingly high reading if that's where you check.
For a bone-in breast, avoid touching the bone with the thermometer tip, since bone conducts and holds heat differently than the surrounding meat and can throw off the reading in either direction depending on contact. If you're baking multiple pieces at once, check more than one, since oven hot spots and differences in individual piece size mean they don't all finish at exactly the same moment even when they went in together.
This same 165°F standard applies no matter what cooking method produced the chicken breast, baking, grilling, pan-searing, or any other technique. The oven timing chart is specific to baking, but the safety endpoint it's aiming for is universal across every way chicken gets cooked.
What changes if you're baking more than one at a time
A single chicken breast baking alone in a large oven cooks somewhat differently than a full tray of several breasts baking together. More total mass in the oven, plus less open space around each piece for hot air to circulate, can push actual cooking time toward the higher end of the range or slightly beyond it compared to a single piece baking on its own. This matters if you're prepping a larger batch for a group meal rather than a single dinner for one or two people; budget extra time and check multiple pieces individually rather than assuming a full tray finishes exactly on the same schedule as one breast would.
Spacing matters here too. Breasts crowded tightly together on a single sheet pan cook less evenly than the same pieces spread out with room between them, since crowding restricts airflow and can trap steam that slows browning and extends the effective cook time. If you're working with a full tray, giving each piece a little breathing room pays off in more even, more predictable results than packing everything as tightly as the pan allows.
Oven rack position adds one more layer to this. A pan on the center rack gets more even exposure to the oven's ambient heat than one placed too close to the top or bottom heating elements, where direct radiant heat can cook one side of the pan faster than the other. If you notice pieces near the back or one side of a large tray consistently finishing before pieces elsewhere, rotating the pan halfway through baking evens that out better than adjusting the total time for the whole batch.
Using two racks at once for a very large batch introduces its own unevenness, since the pan on the lower rack tends to run cooler than one on the upper rack in most ovens, and the upper pan can block some heat from reaching the lower one. If a full group meal requires more chicken than fits on one pan, rotating both pans' positions partway through, top to bottom and back to front, helps compensate for that uneven heat distribution better than leaving both pans untouched for the entire bake.
Covering, basting, and other variables that shift the timing slightly
Whether you cover the chicken during baking affects moisture and browning more than it affects the actual safety timeline, but it can shift cook time modestly either direction. Covering with foil traps steam, which can help prevent a lean cut like chicken breast from drying out, and it slightly slows browning on top since less direct dry heat reaches the surface. Baking uncovered browns the top more but can dry out the surface faster if the total cook time runs long, particularly for a thinner breast that has less margin for error to begin with.
Basting with pan juices, butter, or a marinade partway through baking adds moisture back to the surface and can help with browning, but it doesn't meaningfully change the internal cooking timeline, since basting affects the outside of the meat rather than how quickly heat penetrates to the center. None of these choices change the 165°F safety requirement; they're about texture and appearance, and the thermometer check applies the same way regardless of which approach you take.
A marinade applied before baking, rather than basted on during cooking, has more effect on flavor than on timing, but it's worth noting that a wet marinade left clinging heavily to the surface can slightly extend the time needed to develop browning, since some of the oven's early heat goes toward evaporating that surface moisture before real browning starts. This is a minor effect compared to the difference between boneless and bone-in cuts, but it explains why two chicken breasts of similar size, one bare and one heavily marinated, can brown at slightly different rates even on the same tray at the same oven temperature.
A simple way to think about the whole process
Start with the timing chart as your planning estimate: about 30 to 40 minutes for a standard boneless breast, well over an hour for bone-in. Check earlier than the estimated finish time on your first attempt with a specific oven or a new size of chicken breast, since it's easier to add a few more minutes than to recover from overcooking. Once the thermometer confirms 165°F in the thickest part, the chicken is done regardless of how much time is left on the estimate; the number on the clock is a guide, and the number on the thermometer is the actual answer.
It's worth building a small buffer into your planning around this uncertainty rather than timing everything else in a meal to the exact minute the chicken chart predicts. If side dishes or other parts of a meal are timed to finish precisely when the chicken chart says it should, any variation in oven calibration, breast size, or starting temperature throws off the whole plan rather than just the chicken. Checking the chicken a few minutes before the estimated finish time, then adjusting the rest of the meal's timing around the actual result, is more forgiving than working backward from a chart number that was always an estimate to begin with.
Once you've baked chicken breast in your specific oven a few times and tracked how closely the chart matches your actual results, you'll develop a more personal sense of whether your oven tends to run a little fast or a little slow relative to the standard estimate. That's genuinely useful information for future cooking, and it's the kind of calibration a timing chart alone can't give you, since it's specific to your equipment rather than a general average across ovens.
If baking a specific piece of chicken to the right texture and timing on your own isn't the priority, a restaurant kitchen that grills or roasts chicken daily has already solved this exact timing-and-thermometer question as a matter of routine, which is one real advantage of ordering it prepared over managing oven variability yourself. A kitchen cooking the same dish dozens of times a night has effectively run the calibration process this article describes far more times than any home cook typically will, which is exactly why professional results tend to be more consistent than a home oven working from a printed chart alone.
Frequently asked questions
How long does it take to bake a chicken breast at 350°F?+−
A 4-ounce boneless, skinless chicken breast takes about 30 to 40 minutes at 350°F, according to FoodSafety.gov's poultry roasting chart. A bone-in breast half of 6 to 8 ounces takes considerably longer, about 1¼ to 1½ hours.
Do I need to check the temperature if I follow the timing chart?+−
Yes. Timing charts are estimates based on average size and oven behavior, not a guarantee for your specific piece of chicken. The only way to confirm it's actually done is a food thermometer reading 165°F in the thickest part.
Why does bone-in chicken breast take so much longer than boneless?+−
Bone-in breasts are larger overall, include the rib section, and the bone itself slows heat conduction through the center of the meat. Both size and the bone's effect on heat transfer add significant time compared to a smaller, boneless cut.
Should I cover chicken breast while baking it at 350°F?+−
It's optional and affects moisture and browning rather than safety. Covering traps steam and can help prevent drying out, while leaving it uncovered allows more browning on top. Either way, the 165°F internal temperature check still applies.
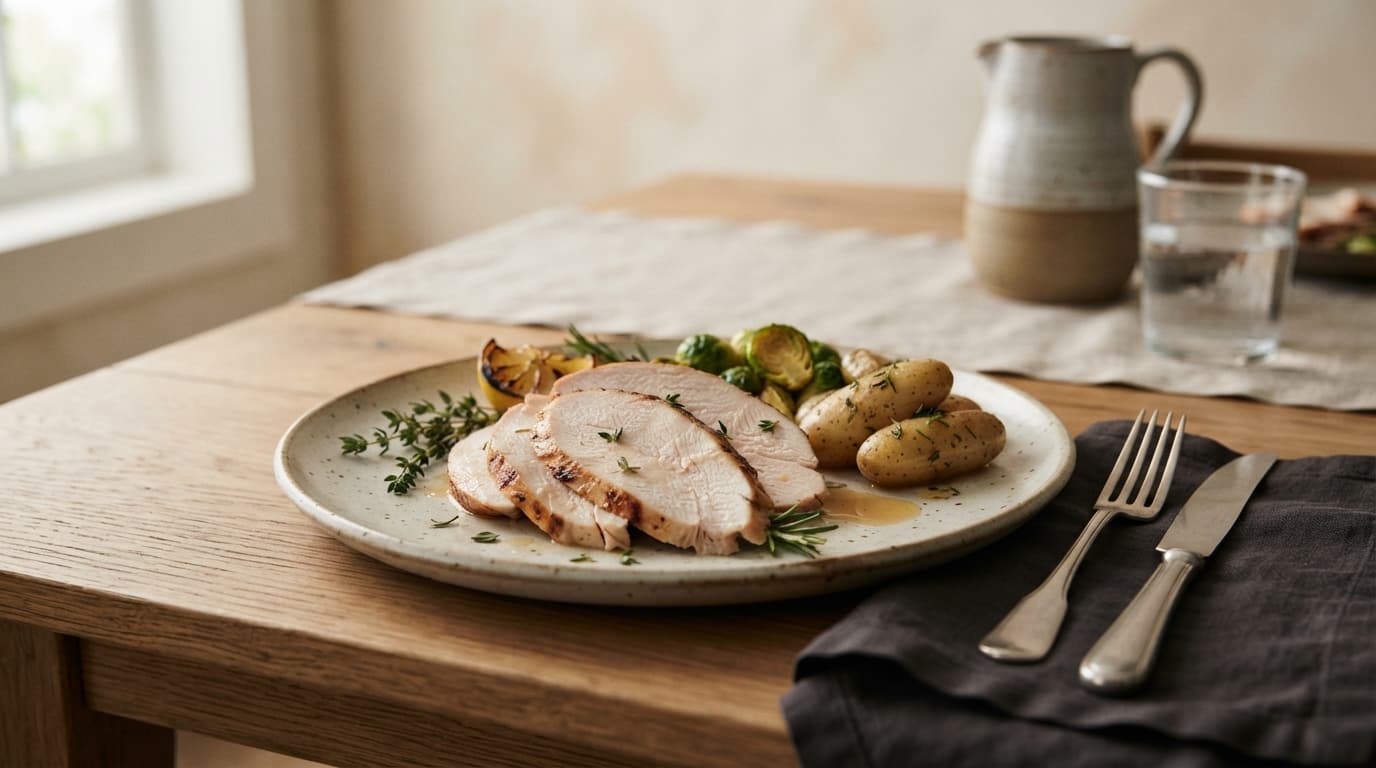
Plan on 3/4 to 1 pound of boneless turkey breast per person, less than the USDA's 1 to 1 1/4 pounds for whole turkey, since boneless meat has no bone weight.
10 min read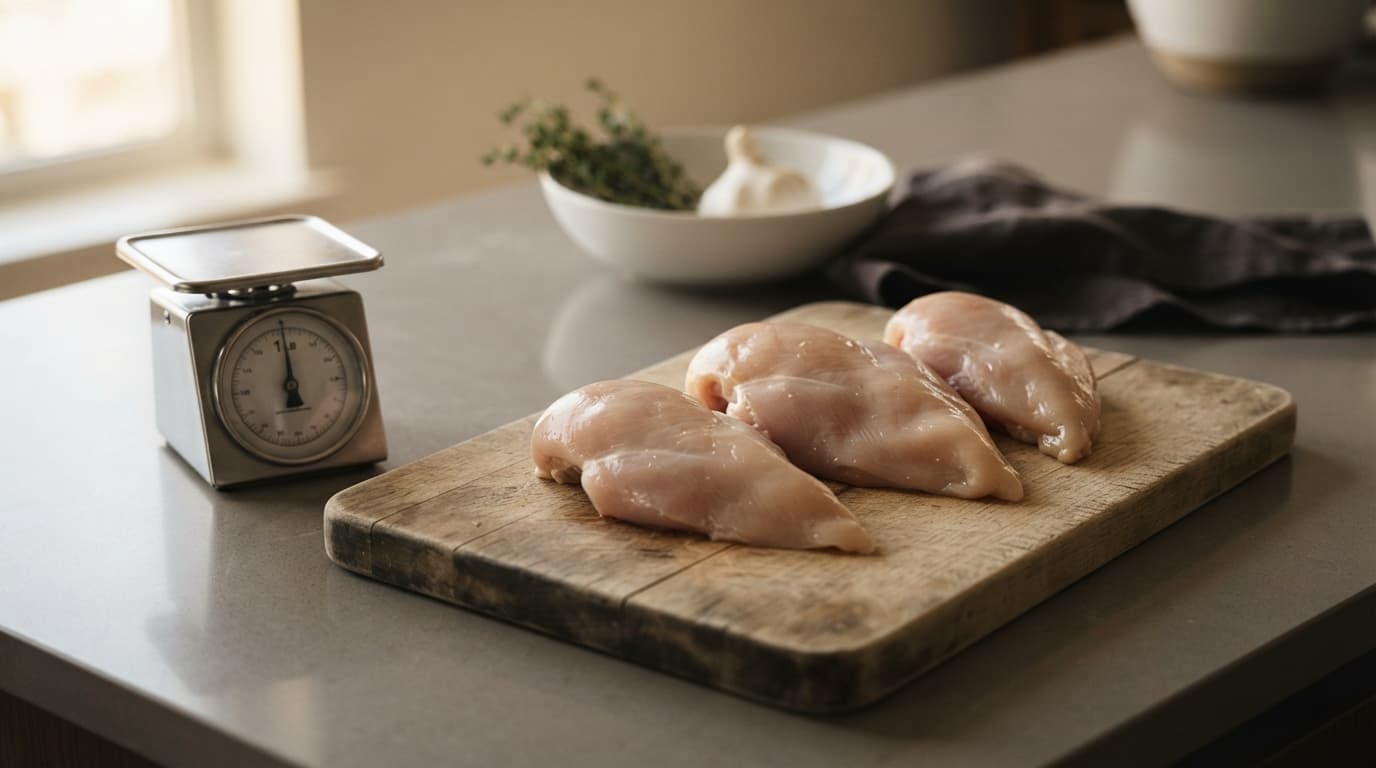
A pound of boneless chicken breast typically holds 2 to 3 pieces, since most breasts weigh 5 to 8 ounces. Size varies enough that weighing beats counting for a recipe.
10 min read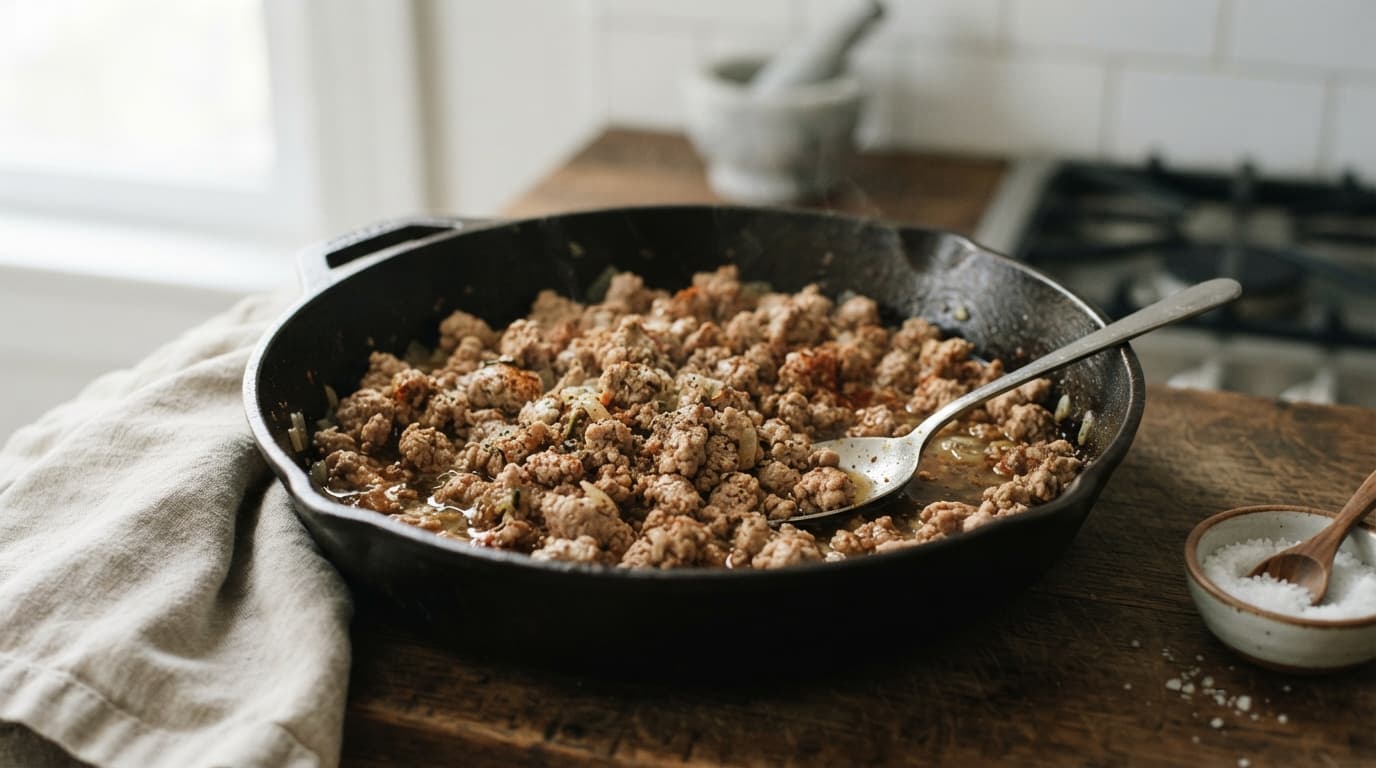
Ground turkey needs about 7 to 10 minutes over medium heat, but time is only a guide. The real requirement is 165°F all the way through, confirmed with a thermometer.
9 min readTables release two weeks out on Resy, Shukette's own booking platform.
Book Now →